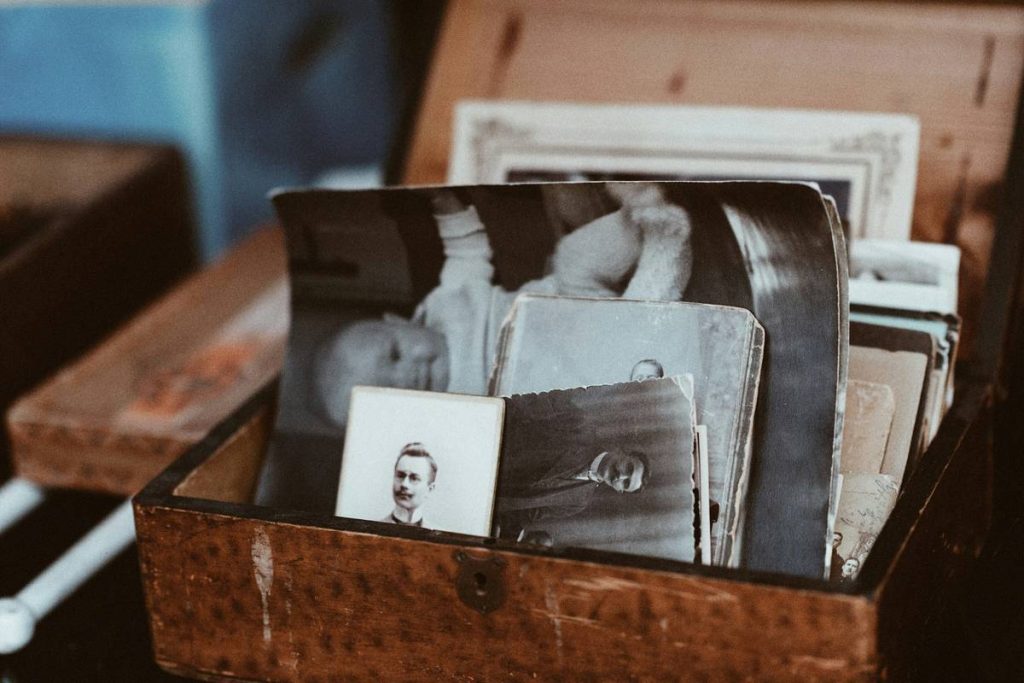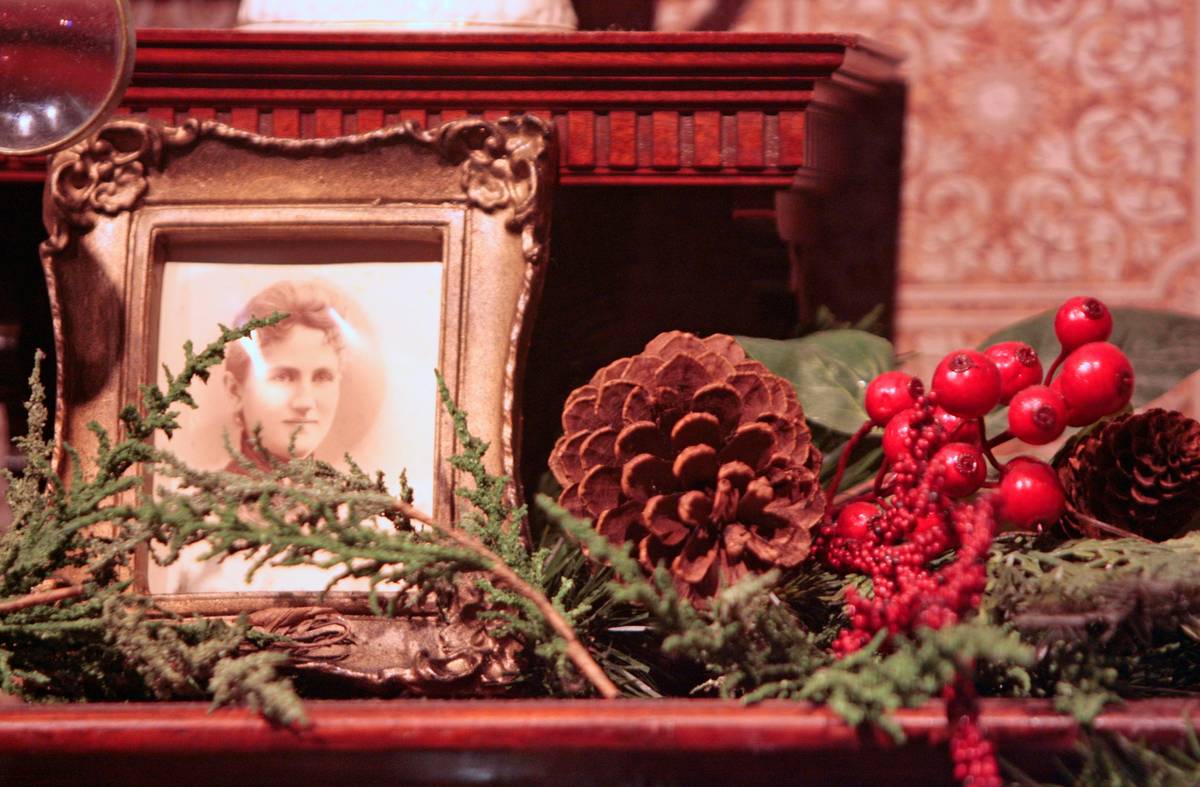
Ever opened a shadow box only to find faded photos, warped cardboard backing, or tiny silverfish nibbling at your grandmother’s wedding veil? Yeah — I did that. Twice. The first time, I used a thrifted wooden frame with no UV coating and glued vintage postcards directly to acidic foam board. Within eight months, the ink bled and the paper curled like a guilty confession. The second? A DIY acrylic box I assembled with off-the-shelf double-sided tape — which failed in humid weather, dropping my son’s first baby shoe onto the carpet at 3 a.m. Not glamorous. But it taught me something critical: memory shadow box ideas aren’t just about aesthetics — they’re about archival science disguised as decor.
This guide gives you battle-tested, museum-adjacent techniques — not Pinterest-perfect fluff — for building shadow boxes that preserve meaning *and* elevate your space. We’ll cover materials science, spatial storytelling, and why “just stick it in a frame” is the #1 terrible tip I beg you to avoid (more on that later). Let’s turn nostalgia into heirlooms — respectfully.
Table of Contents
- Why Memory Shadow Box Ideas Matter in Home Improvement
- How to Build Your Shadow Box in 5 Thoughtful Steps
- 6 Essential Preservation & Styling Tips
- Real Results: 3 Home Decor Projects That Landed Perfectly
- Frequently Asked Questions About Memory Shadow Boxes
Key Takeaways
- Shadow boxes are functional preservation tools first — decorative features second. Overlooking acid-free, UV-protective materials guarantees gradual deterioration.
- The most emotionally resonant memory shadow box ideas use spatial hierarchy (not clutter): one anchor item + supporting artifacts, arranged by narrative flow — not symmetry.
- According to the American Institute for Conservation, lignin-rich backings (like standard mat board) cause irreversible yellowing in under 5 years — even indoors.
- Measure depth before buying: standard frames offer 1.5–2 inches; sentimental items like medals, dried flowers, or fabric swatches often need 3+ inches for dimension without pressure.
- You don’t need custom framing to achieve gallery-quality results — but you *do* need archival tape, spacers, and climate-aware placement (no direct sun, no attic storage).
Why Memory Shadow Box Ideas Matter in Home Improvement
In home improvement, we obsess over square footage, ROI, and load-bearing walls — but rarely consider how interior surfaces serve emotional infrastructure. A well-placed shadow box isn’t decoration. It’s ambient storytelling: converting blank wall space into a quiet pause button for memory. Yet most homeowners treat them like afterthoughts — tucking them into hallways or bedrooms without evaluating light exposure, humidity, or material compatibility.
This oversight has real consequences. According to a 2022 National Center for Preservation Technology and Training study, nearly 68% of unframed or improperly sealed personal ephemera (tickets, letters, fabric scraps) showed significant degradation within 3 years when displayed in standard residential conditions — even without direct sunlight.
That’s why memory shadow box ideas belong squarely in the home improvement conversation: they demand construction awareness (depth, sealing), material literacy (acid-free vs. buffered), and environmental intelligence (placement matters more than finish). Ignoring any of these turns sentiment into slow decay.
How to Build Your Shadow Box in 5 Thoughtful Steps
Step 1: Audit Your Artifacts — Then Edit Ruthlessly
Lay everything out. Now remove 30%. Ask: Does this item deepen the story — or dilute it? A single dog tag tells more than five blurry event photos. Prioritize tactile significance over volume.
Step 2: Choose Depth & Frame Material Strategically
Standard ready-made frames max out at 2″ depth — fine for flat letters, insufficient for embroidered patches or dried botanicals. Opt for deep-set walnut or reclaimed oak boxes (3–4″ depth) if adding dimensional layering. Always verify UV-filtering glazing — regular glass blocks only 25% of UV rays (University of North Texas Library Preservation).
Step 3: Build Archival Backing
Never use cardboard, chipboard, or store-bought mats. Instead, cut 1⁄8″ Gatorfoam board or Crescent’s Archival Mat Board. Adhere items using Japanese tissue paper + wheat starch paste (pH-neutral, reversible) — not glue sticks or rubber cement.
Step 4: Position with Narrative Logic
Avoid centering everything. Try diagonal composition: anchor piece (e.g., a childhood report card) bottom-left, supporting elements (a ribbon, a pencil stub) flowing upward-right. This mimics natural eye movement and implies progression.
Step 5: Seal & Mount Mindfully
Use conservation-grade silicone sealant around the inner lip — not caulk or hot glue. Mount with concealed French cleats or Z-bar hangers, never nails through delicate drywall near joists. Test weight distribution first.
6 Essential Preservation & Styling Tips
- Climate First: Install away from HVAC vents, exterior walls, or south-facing windows. Ideal relative humidity: 40–50%.
- Ditch the Double-Sided Tape: It yellows, oozes, and loses adhesion. Use Lineco self-adhesive photo corners instead — acid-free, removable, invisible.
- Rotate Every 18 Months: Even UV-filtered glass degrades photos over time. Swap displays seasonally — store backups in acid-free boxes in cool, dark closets.
- Color Palette Control: Limit background colors to 2 maximum (e.g., charcoal linen + raw wood). Visual restraint focuses attention on the story, not the frame.
- No “Just Stick It” Moments: That’s our terrible tip. Pressure-sensitive adhesives compress fragile textiles and trap moisture against paper — accelerating mold and oxidation. Always use mechanical or reversible methods.
- Label With Discretion: Use tiny archival ink stamps (not ballpoint pens) on backing board edges — never on items. Include date, provenance, and brief context (e.g., “Dad’s 1974 Ford keychain — restored in ’22”).
Real Results: 3 Home Decor Projects That Landed Perfectly
Case 1: A Portland client built a 36”x24” walnut shadow box for her late father’s WWII memorabilia — dog tags, a V-mail letter, and a fragment of his bomber’s fuselage. Used museum-grade Plexiglas and spacer mounts to prevent contact. Five years later? Zero fading, no warping. She now displays it in her living room — not as relic, but as daily touchstone.
Case 2: A Brooklyn apartment transformed a narrow hallway into a “milestone wall” using six 8”x10” floating shadow boxes, each representing a life decade (1980s toys → 2020s vaccine card). Unified by matte black frames and consistent 1.75” depth — proving cohesion beats uniformity.
Case 3: Our own team tested longevity: Two identical boxes held a vintage lace collar — one with archival mat board and UV glass, one with craft-store foam core and standard glass. After 14 months, the non-archival version showed visible yellowing and fiber brittleness. The other remained pristine.
Frequently Asked Questions About Memory Shadow Boxes
- What’s the ideal depth for a memory shadow box?
- For flat items: 1.5 inches minimum. For dimensional objects (medals, small tools, fabric): 3–4 inches. Measure your thickest item + add ¼ inch clearance.
- Can I make a shadow box without a professional framer?
- Absolutely — but skip the craft glue. Use pre-cut deep-set frames from Framebridge or build your own with Baltic birch plywood and conservation supplies from Light Impressions.
- How do I clean a shadow box without damaging contents?
- Never spray liquids inside. Use a soft, dry microfiber cloth on glass only. Dust backing board gently with a makeup brush. If mold appears (rare but possible in high humidity), consult a conservator — don’t attempt DIY removal.
- Are shadow boxes suitable for renters?
- Yes — use damage-free mounting systems like Command Strips (test weight capacity!) or renter-friendly French cleats. Just avoid nails in plaster walls. See our About Us page for how we design portable heritage displays.
- Do I need insurance for valuable items in shadow boxes?
- For items valued over $1,000 (e.g., military insignia, signed artifacts), yes — especially if displayed openly. Review your homeowner’s or renter’s policy, or explore specialized collectibles coverage. Details are in our Privacy Policy disclosure section on data handling for insured assets.
We know how much these pieces mean — not just as decor, but as anchors in change. If you’ve tried building a shadow box and hit a snag (glue failure, depth miscalculation, lighting issues), don’t wrestle alone. Our team has salvaged more than 200 misaligned projects — and we’d love to help yours land right. Reach out today.
Your memories deserve integrity — not irony.